
Are you just getting dominated on Arena? Have you tried the Top Team Comps yet? Or maybe you just want to mix it up and change strategies. We will go into each map in detail and explain what strategies work best. This will give you an advantage when playing teams with similar skill levels or even teams with better gun skills.
You can also find a ton of details on how to win every game you play in Arena right here on this blog!
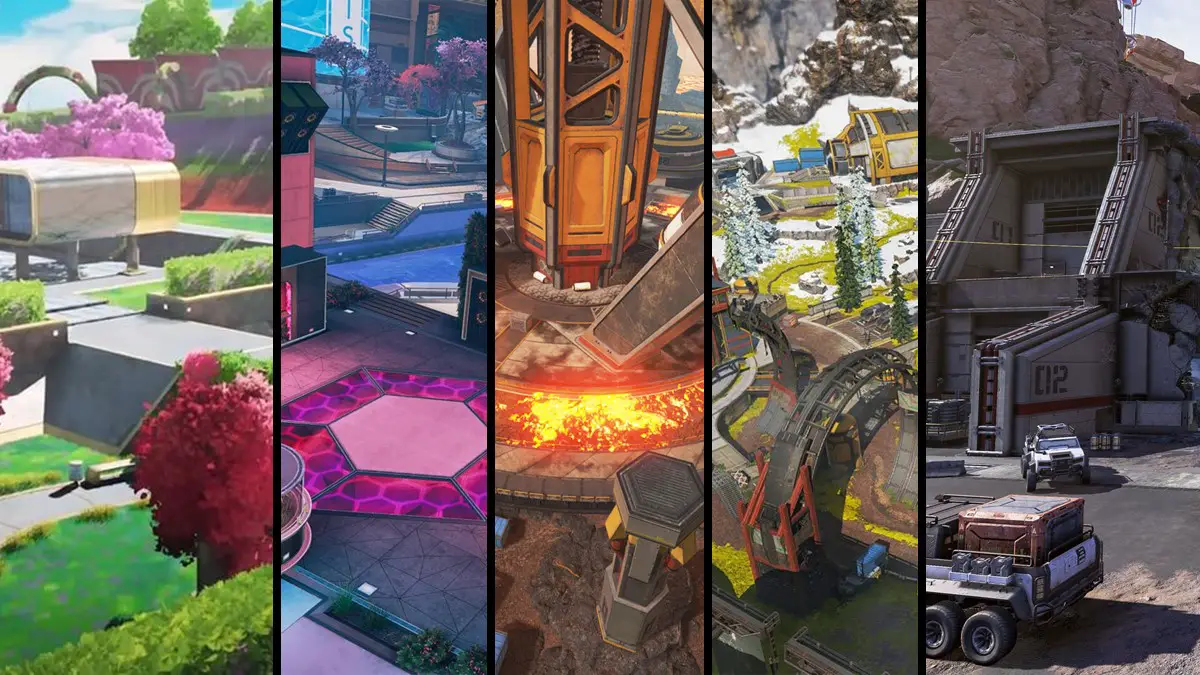
Custom Arena Maps
There a 2 custom arena maps. When we say custom, all it means is these maps were specifically made for Apex Arena and features a classic 3-lane format. Knowing the in’s and out’s of these maps will not only help you outwit your opponents but give you a better understanding of how to play Arena in general.
Phaserunner
The first map custom fitted for Apex Arena is Phaserunner. Dependent on your starting location, you have a teleporter on one side, a more close-quarters fighting area on the opposite side, and a middle lane with hills and trees for cover. Let’s look into different approaches you can take to get the edge each round.
Teleporter Run-n-Gun
I like to use this as an early-round strategy if the safe zone is in this location. This is simply a 3-man rush at the start of the round through the teleporter. You’ll want mid-range guns for this fight due to the setup of the location you’ll be in. If the enemy team also takes the teleporter then there will be immediate gun fire when landing. Take cover and hit your shots.
Now if the enemy team decides not to take teleporter and goes for a mid-lane push, you’ll need to reposition once you’ve teleported. When you see the enemy did not teleport, go for the supply bin in the area. This will give you extra heals which is key in early-round fights. Since you have the safe zone, simply hold angles with your mid-range weapons and the zone will push the enemies in.
Try to resist pushing the enemy team here because sometimes, a flanker will loop around to ambush. If you do see a flanker, make best efforts to have the entire team focus on them and it should be an easy kill and make it a 3v2 situation.
Sniper Scout and Infantry
This one is pretty fun and can be used almost any round. Have one member on your team grab a sniper and a secondary rifle. This teammate will sit back and scout the area while dealing damage to incoming enemies. While this teammate is dealing damage and giving callouts on enemy locations, have the other 2 teammates close in on them.
Keep the fight more mid-range here so you don’t over-extend and leave the sniper player as the last one standing. If the 2 teammates pushing end up getting rushed then have your sniper switch to his rifle and rotate in to add supporting fire.
If the fight doesn’t end there, reposition so the sniper has a good vantage point and the 2 mid-range players can apply pressure to the enemy team where needed. The point here is to have the sniper waste enemy shields early into the round so late-round fights tend to be easier for you.
Keep it close
If you know you’re facing a sniper team then bring the action to them. Or if you know the enemy likes open area fights with mid-range weapons, then don’t let them have it. Load up and upgrade your favorite shotgun or mid-range rifle. If your safe zone is on the unfinished teleporter side then run that way immediately. It’s best for all 3 of you to stick together on this one.
Once you’re all there, wrapped around the center of the building (choose a side) and push together. Focus your fire on one enemy to get a quick pick. Now that it is a 3v2 situation, help and push back in to overcome the enemy. As long as you don’t let them pick up your entry pick you should easily win this round.
The Outward Push
Everyone grabs a sniper and a solid mid-range weapon. You’re about to be the annoying sniper team that the enemy just wants to rush and get it over with. When you see the safe zone is in the middle of the map, run to the opposite lane of your opponent.
From this vantage point, you will be able to spot all 3 enemies and deal damage making them waste shields early round. Most teams will just sit back and wait for late-round to push in and fight. This is fine because you have a rifle for late-round and there’s plenty of cover when rotating in.
If one of you gets a knockdown then it’s time to rush in. I like to do a 2-1 split push but you and all 3 rush together on one side if that’s more comfortable. The point of this is to rush in before the enemy picks up there teammate or at least get there in time to knock them again before they apply shield.
Now if the enemy team decides to push that gives you all the more of an advantage. When you try to push you can get a shot or 2 in with your sniper. Quickly switch to your rifle once they are close and rain down fire. This should be an easy win for you since dealing a lot of sniper damage and taking most of their heals away.
Party Crasher
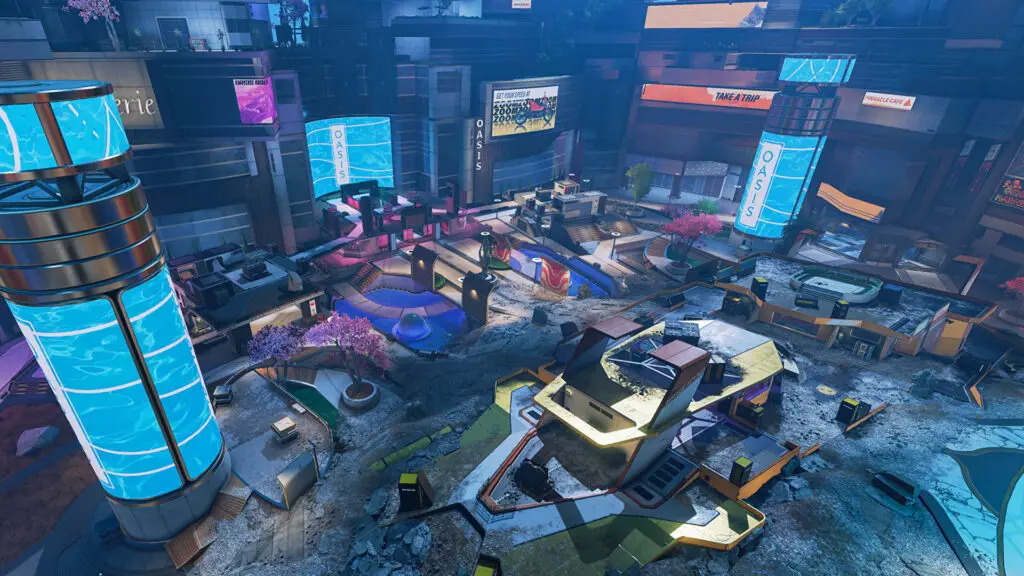
The second map custom fitted for Arena is Party Crasher. With the usual 3-lane format this map has multiple vantage points. One side has a plaza, the opposite side we will refer to as Boat House, and the middle-lane has a bridge with passage underneath it. Let’s dive deeper into ways to dominate on this map.
Safe House
A great early-round strategy when executed correctly. If you start on the side where Boat House is on your left and the safe zone is there as well, then do this. Everyone grabs a shotgun. For this, you will simply be sitting in the house holding the doors with your shotguns. If they try to loop around back, just hold close angles and do not give them a mid-range fight.
Sniper Barrage
Everyone grab your snipers and get ready. Don’t forget a solid secondary. If the safe zone is in the middle then scout which side the enemy team is going and take the opposite side as them. You will be going for sniper picks here and taking away enemy shield early round.
This should be an easy round for you and there are a few ways to go about it. If one of you gets on early pick then rush with rifles. If the enemy rushes you, get your last sniper shots in and then drill them with rifles. If the fight goes on and zone pushes in, have 2 teammates use rifles and 1 use the sniper for any enemies who try to peak your teammates.
The Loop Around
If you decide you want to be a little frisky then this is a fun one. Have 2 of your teammates show early presence and initiate gunfire. While the enemy is distracted, you will have one teammate flanking from middle-lane. This teammate will go under bridge and behind enemy line, whether that be Plaza or Boat House side. Once your flanker is in position, have everyone rush in once the flanker has grabbed enemy attention.
Rotational Arena Maps
These maps are based on the Battle Royale maps. They have been tweaked to fit Arena’s playstyle and give the audience a nice feel for the maps they are used to. Since Phaserunner and Party Crasher and permanent maps, the following 3 maps rotate every so often to give players some variety.
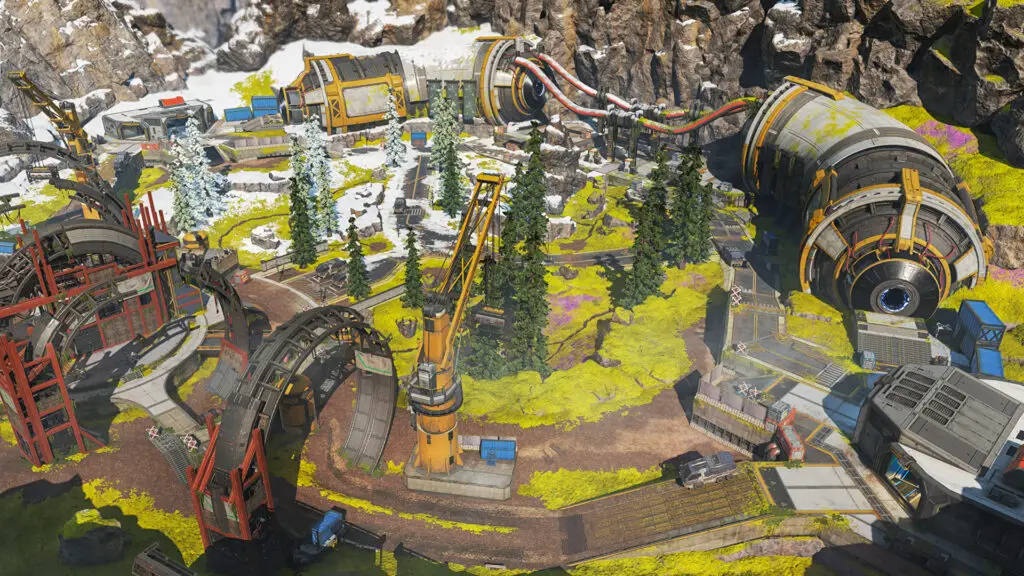
Artillery – Thermal Station – Golden Gardens
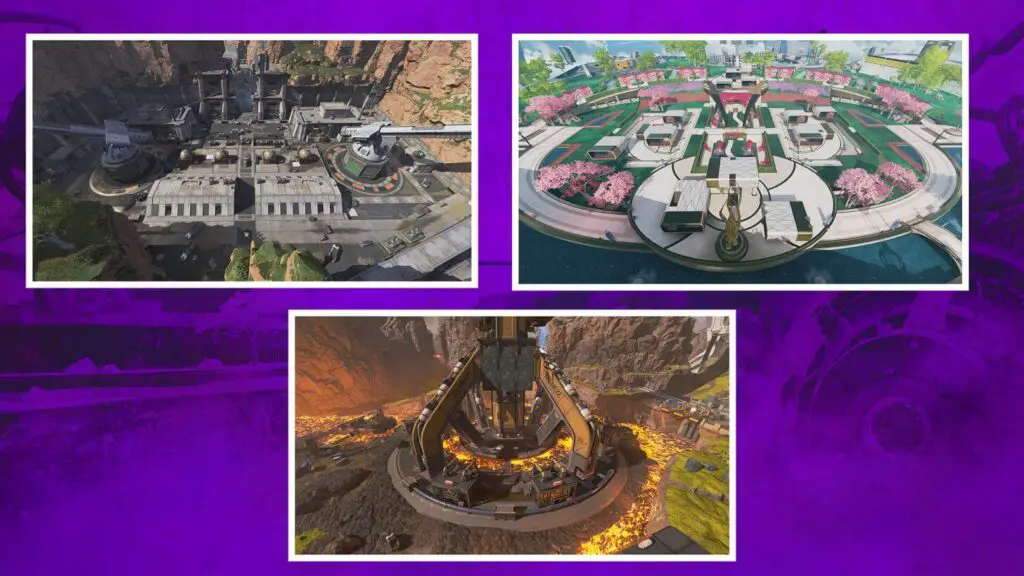
Like all Arena maps, each of these has a 3-lane format. While each map is unique in its own aspect, most all of the strategies listed above can be applied to each one.
For instance, Artillery is more of an open map which calls for more long-range sniper play. Use the sniper strategies to take on enemy teams and get the advantage.
Thermal Station tends to have more close-range fights than other maps. You can definitely use snipers here but I would try to keeps the fights mid to close range and not peak any sniper players. The middle of the map is grounds for a shotgun war and is really fun early game.
Golden Gardens has a mixture of open and mid-range fighting. Use the sniper or run and gun strategies to shock your enemies. Take an early lead by grabbing early picks and rushing in.
Apply what you’ve learned to different situations you encounter in games. As you adapt, you’ll learn what opposing teams will be doing and you can start adjusting strategies mid-round and counter whatever the enemy throws at you.